
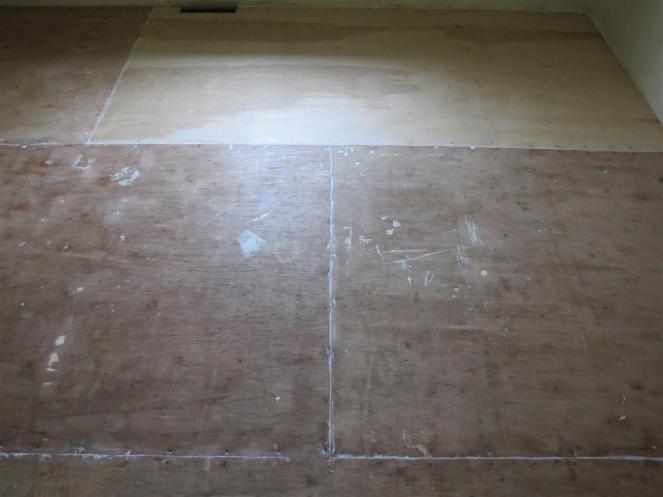
Never thought I would paint plywood floors, but here we are. There was a spare bedroom in our house that was just sort of…ignored. It wasn’t finished, we didn’t need it, it was nice as a catch-all area, and so on. The flooring was plywood nailed overtop the old vinyl tile, and one sheet was missing because our old cat tended to overspray her litterbox. So, you know, hurray for cat urine.
This post contains affiliate links.
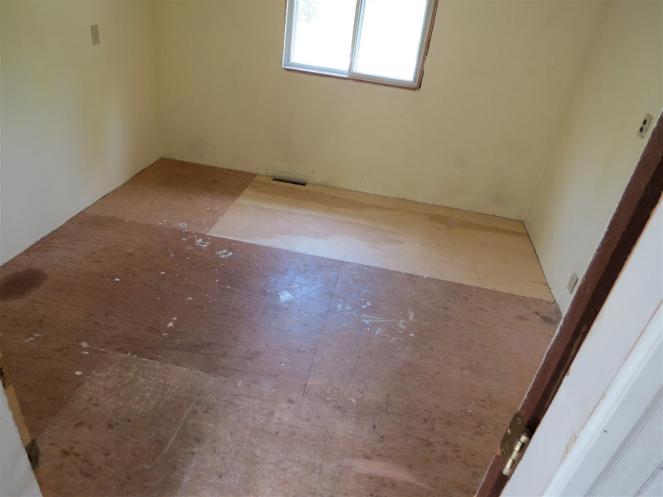
Cut to a few weeks ago, when we realized that we were going to have company shortly, and there was nowhere for them to sleep. This may or may not have caused a slight panic. We got to work, and for under $100 replaced urine-soaked plywood, primed, painted, and generally spruced up. The result?

The painted floors are my favorite part of the room. Want to know how we did it? Read on!
First things first – hammer back down any loose nails, caulk the seams, and sand the floor once the caulk is dry.
If we had been super ambitious, all the seams and nail dents could have been covered with a floor-leveler, wood filler, or indoor Bondo, and then sanded until smooth and seam-free. We didn’t have that kind of ambition, and rather liked the idea of an imperfect floor. Paintable caulk was used in the seams instead of wood filler because caulk will stretch and move with the floor without cracking.
Second step – primer! (Oil-based Zinsser.)
Third step – porch paint! (Dutch Boy porch and floor paint in Light Gray.)
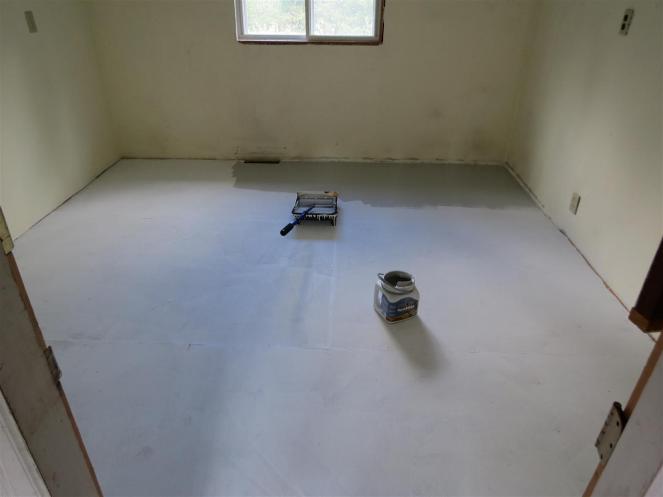
First coat going on top of the primer.
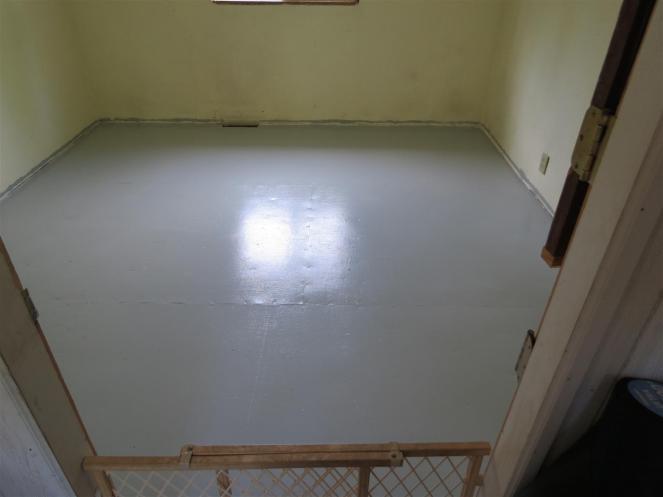
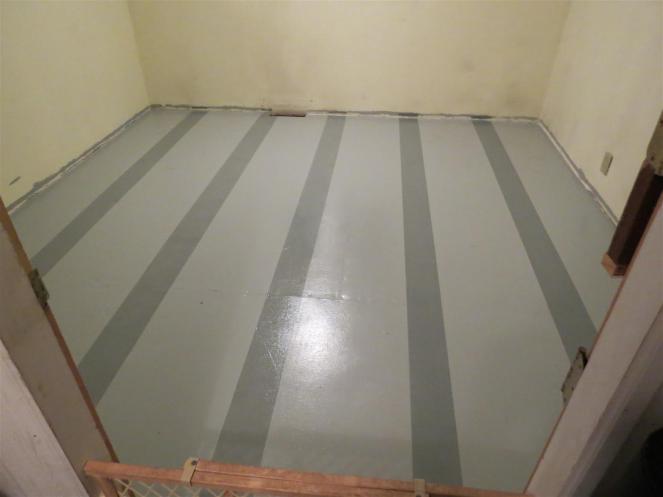
After 3 coats.
Fourth step -getting ready to stencil – also known as The Time When Everything Shit the Bed.

No matter what we tried, paint bled under the stencil, making it look like a big blob. Tempers were running high (we were painting at 9:30 PM, and I may have called my husband The Grand High Poobah of something very unflattering) and we said to hell with it – and painted stripes instead. I used one coat of paint for the stripes instead of 3, and we ended up liking the look of it – sort of worn and faded. The stripes were painted with the same brand of porch paint, in Battleship Gray.
After drying for several days, the floor still felt tacky under our feet. I ain’t got time to let it dry for weeks, so I slapped a few (3) coats of water-based polyurethane on it.
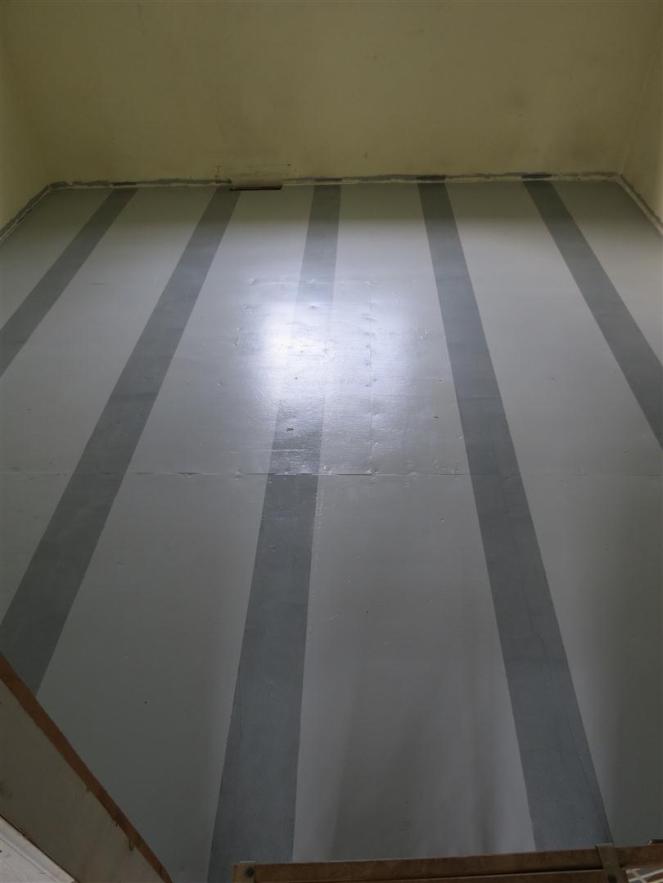
The finished floor. No longer sticky!
I rather like it.
The finished room (because of course I couldn’t just leave well enough alone, and had to redo the whole ding-dong room) will be posted in a few days.
See you later!

That looks super neat!
Thanks!
"Company's coming!" is a great motivator. The guest room and floor look terrific and best of all, you both survived the transformation.
The whole 'survival' thing was touch-and-go for awhile, but we pulled through.
Looking beautiful, i wasn't aware that you can paint your plywood floor like this, i will definitely try this with my guest room flooring to give it a new look.
Love your floors! I saw this tip somewhere – probably Pinterest – that if you paint a layer of your base coat over your painters tape, it seals the edges and keeps the next layer from bleeding under. I haven't tried it, but it seems like it would work. 🙂