
This DIY book clutch purse post should have been up yesterday, but the Mod Podge was not cooperating. That was an odd sentence, but a true one. Anyway, I spotted this DIY on Pinterest, and thought making a hardcover book clutch was either brilliant or silly, so obviously I had to try it. The original tutorial comes from this blog, Runway DIY, which I kid you not, the author has apparently deleted between the time I started this project and finished it.
This is my version of the project, with a few alterations.
This post contains affiliate links.

For this project, you need:
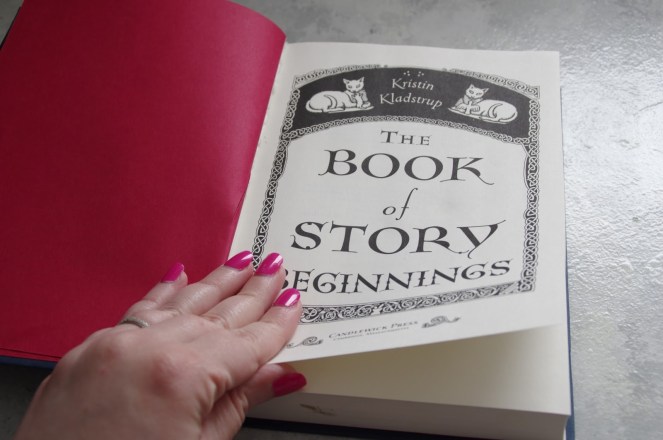
– 1 hardcover book (I bought mine at Goodwill)
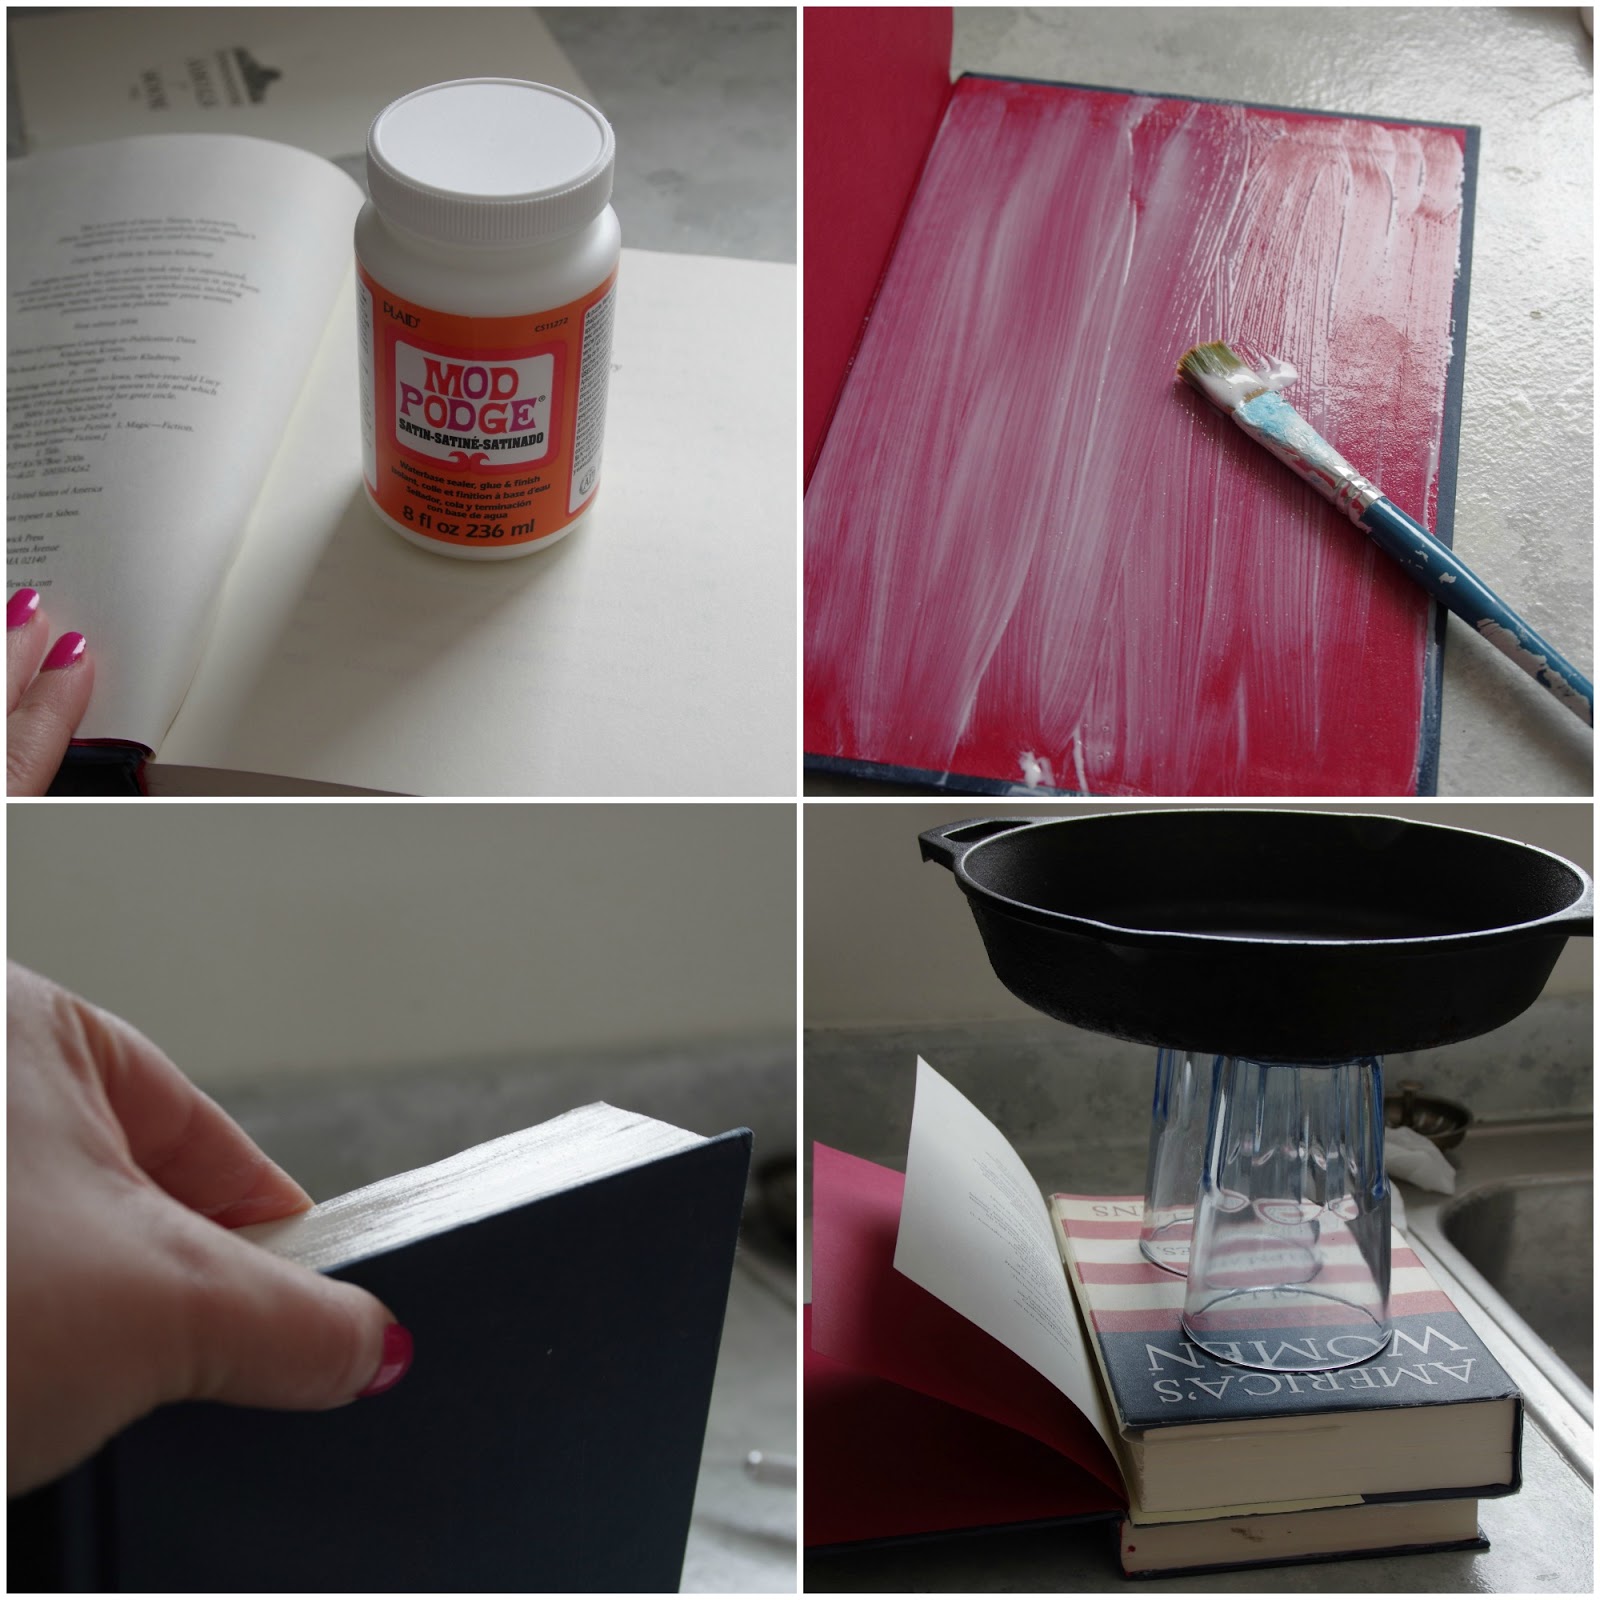
– Mod Podge
– X-Acto knife
– 5/8 inch magnets
– Metal book corners (optional)
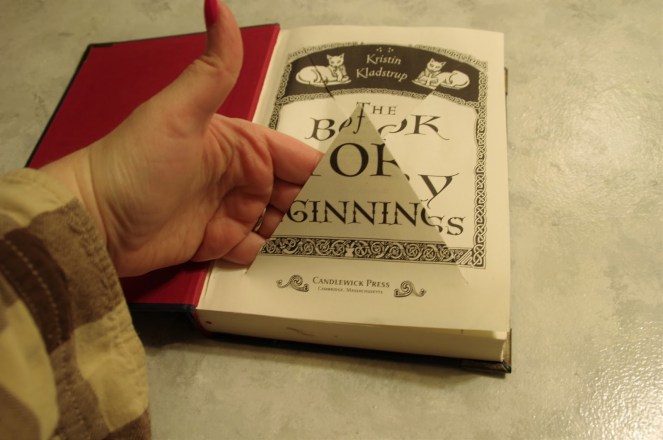
The first thing you’ll need to do is take the X-Acto knife and cut away any excess pages from the front of the book, except for one page – one of the pages, preferably a cute one, will become part of the inside of the clutch later on.
Next, it’s time to Mod Podge. Use Mod Podge to glue the pages to the back of the book, then use it to glue all the pages together along the sides. Just apply a nice layer along the edges, you don’t have to actually glue each page together. (Leave the cute page alone! Make sure that one is not glued down.) Then, weigh the book down so it doesn’t wrinkle as it dries.
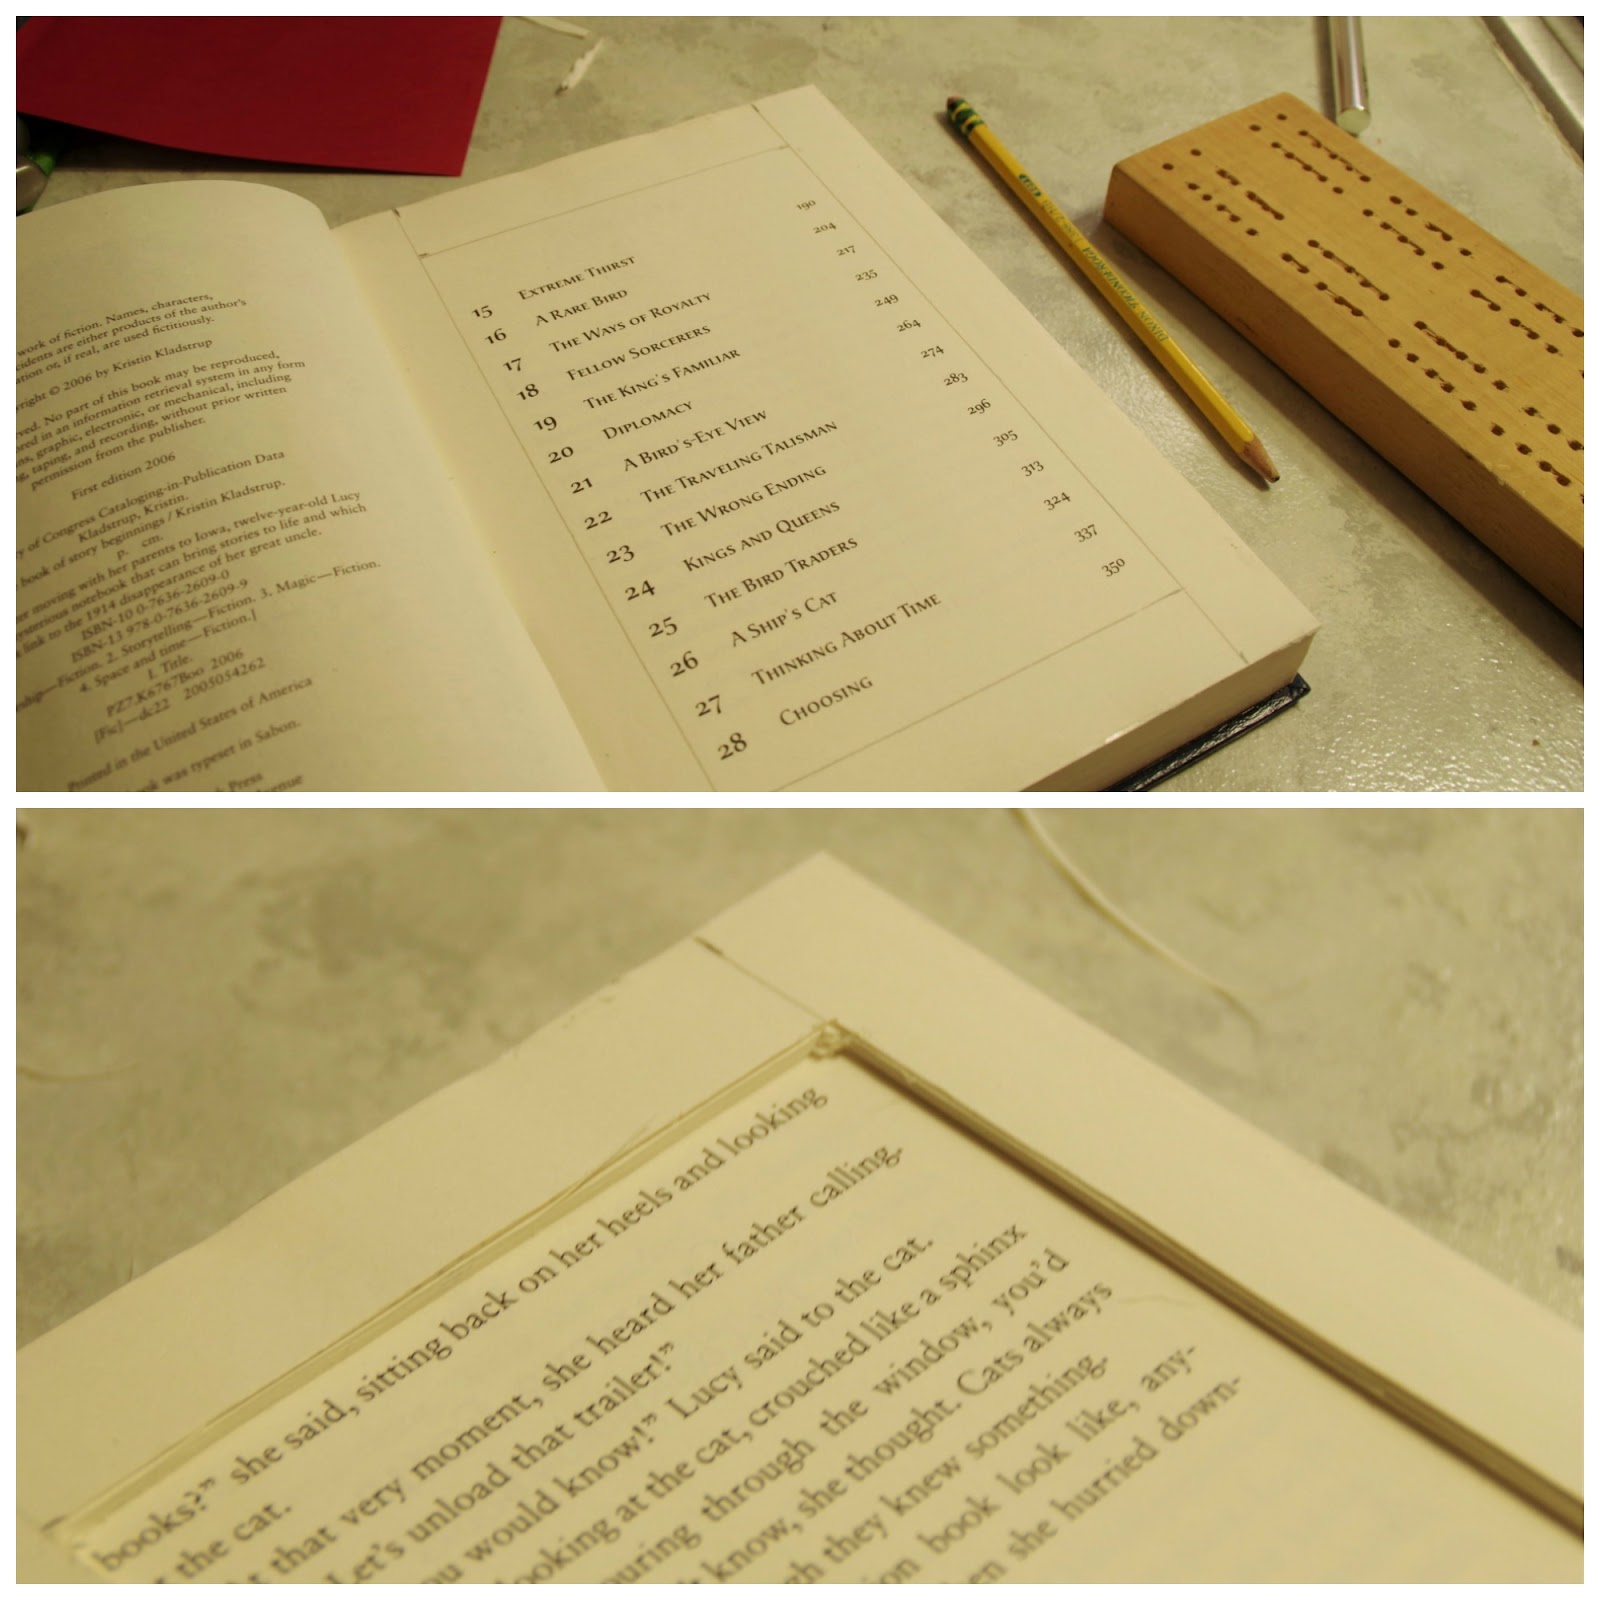
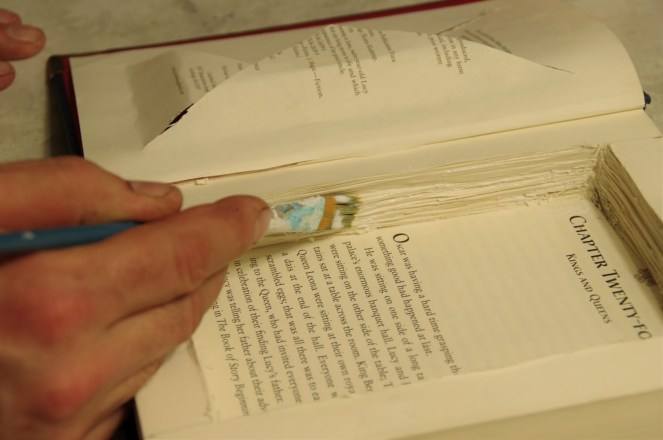
Once everything is dry, open the book, and measure 3/4 of an inch inward from each edge, once again ignoring the cute page. With the X-Acto knife, start cutting away the inside of the book, carefully following the lines.
Continue cutting all the way down until you reach the last few pages of the book. Do this step very carefully to keep the inner edges neat. (I did not do this carefully, because I am a gorilla. I do not have neat edges. This I have to live with.)

Next, glue the inner pages together with Mod Podge, and apply a layer along the bottom page. Fold the cute page down into the inside of the book, and apply another layer of Mod Podge to cover everything.
The Mod Podge will glue everything together, and will act as a protectant so the pages don’t get stained if you toss a pen in there or something.
Now, the pages look wrinkly here, and that’s okay. By the next morning, they laid flat again.

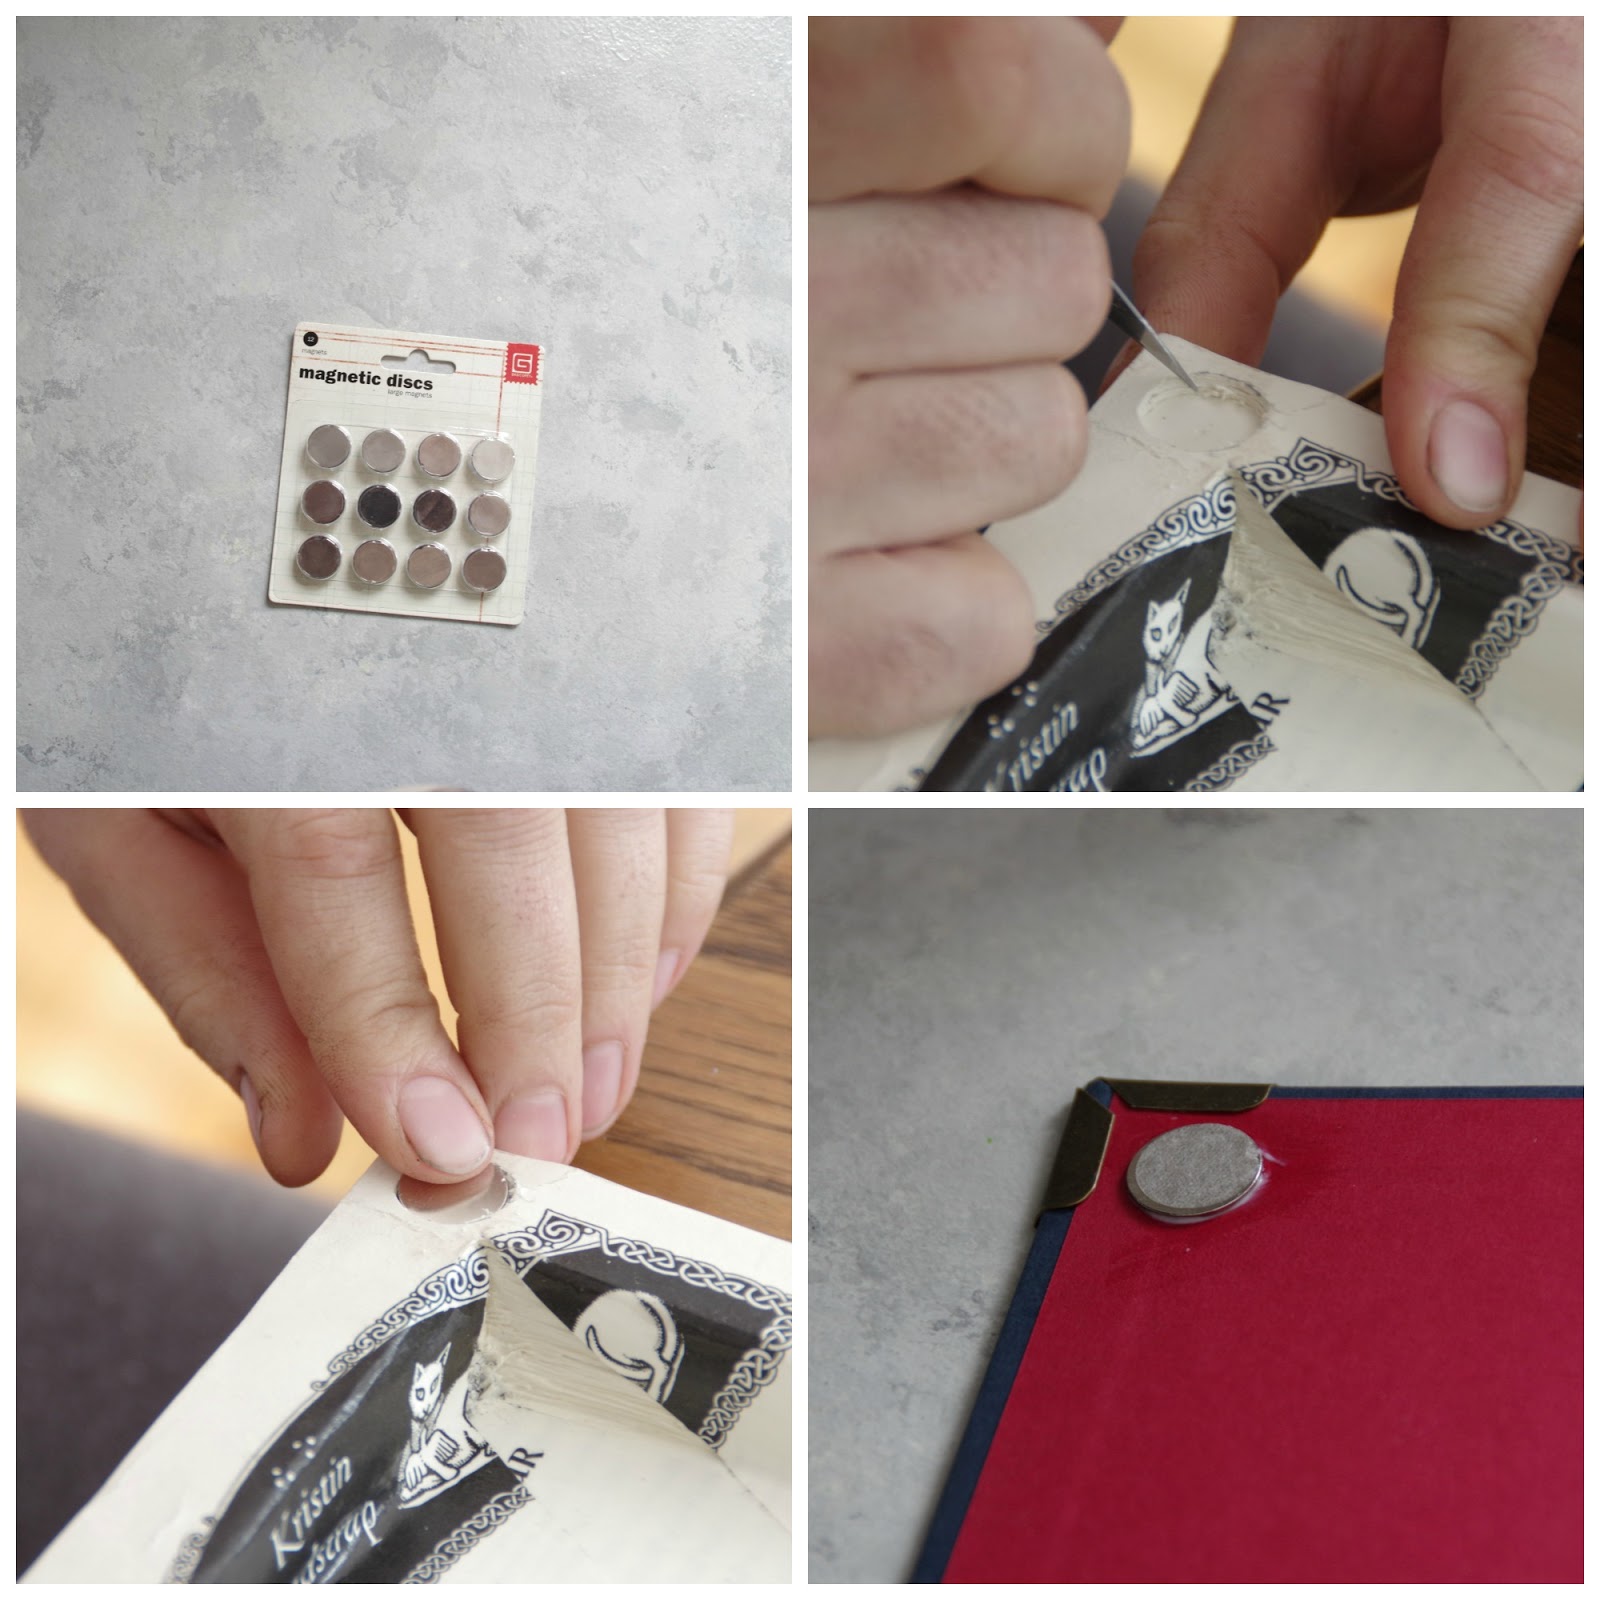
To keep the book closed, I used the magnets. Trace around the magnets and use the X-Acto to cut down into the pages, keeping the circular shape. Cut down to twice the thickness of the magnet, so when the book is closed, the magnets on the inside cover will sink down into the hole as well, closing the book tightly and without a gap.
Glue the magnets down (Mod Podge works well) and glue the corresponding magnets to the inner cover.
And that’s that.
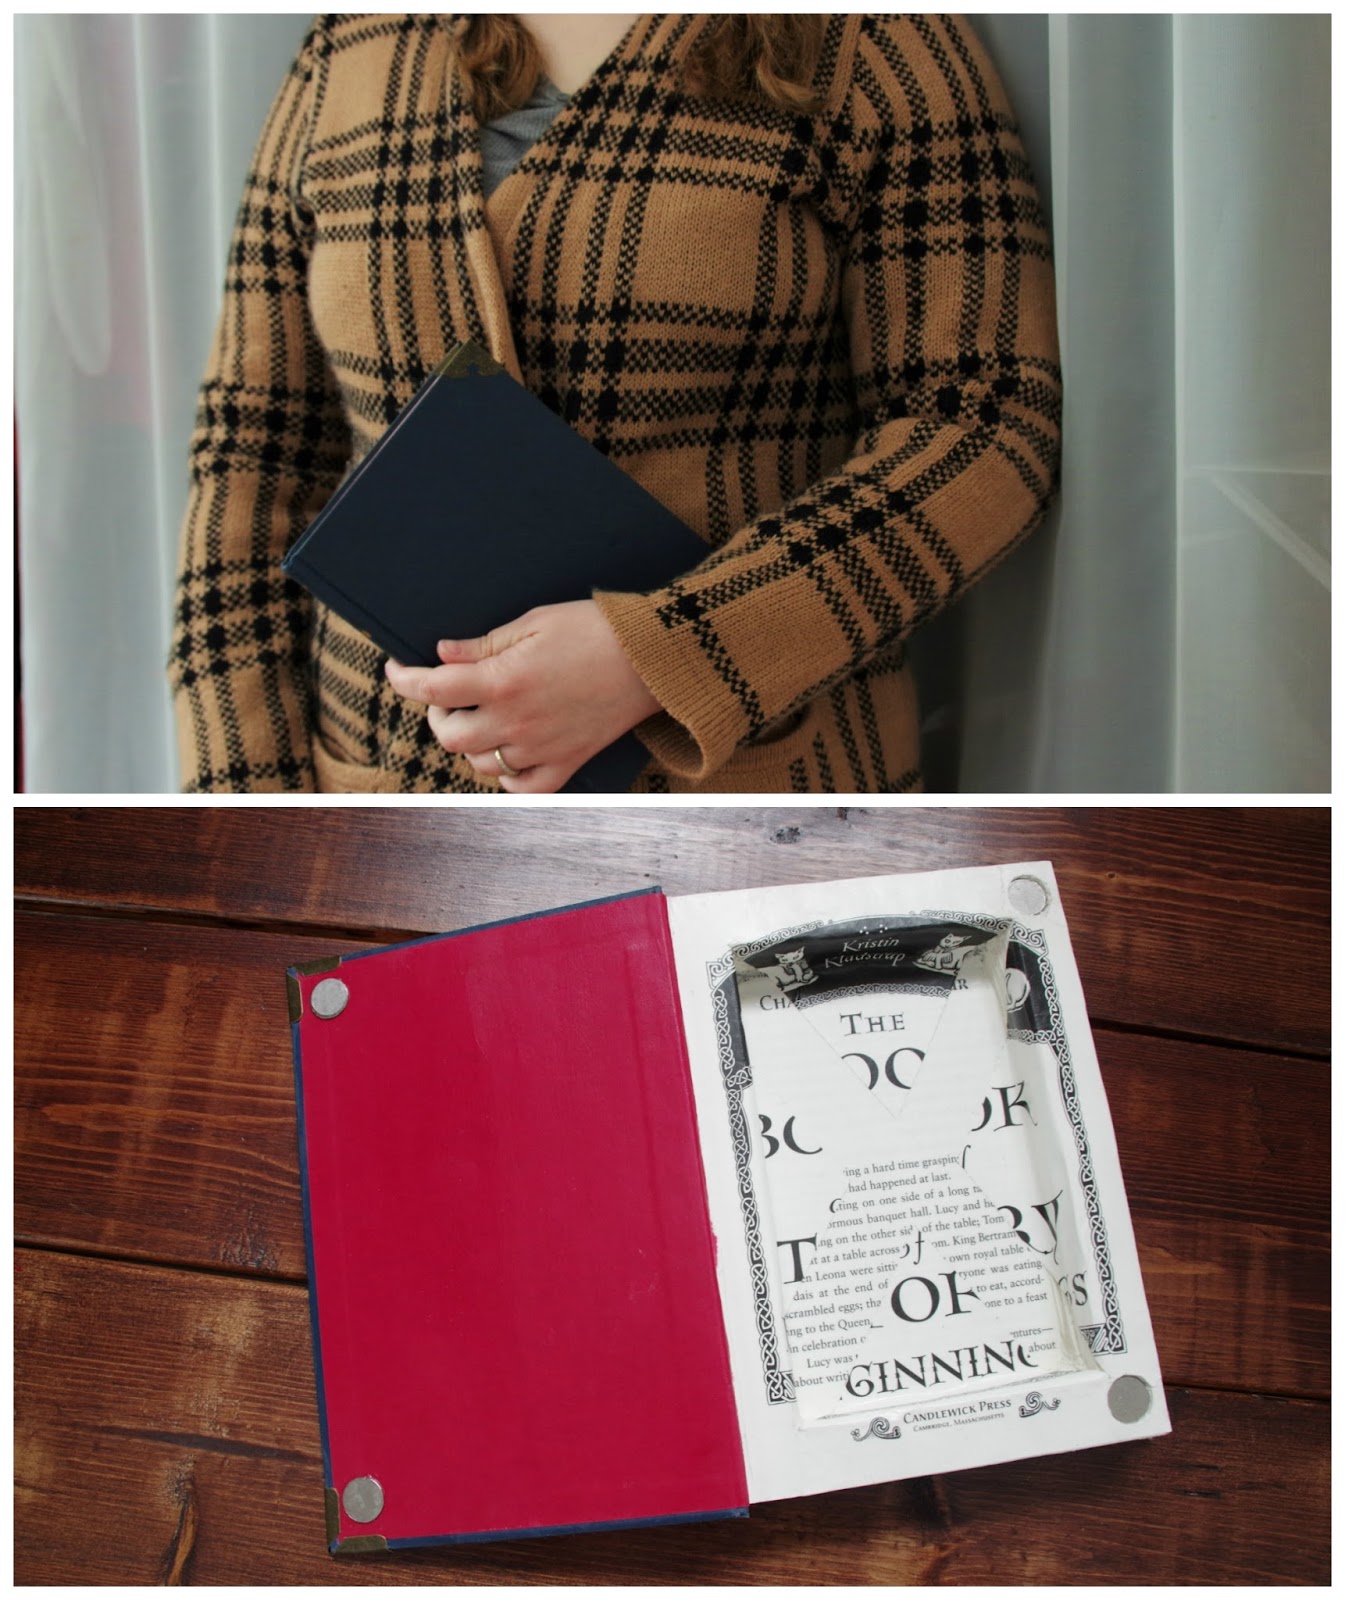
I’m not sure when I’ll get around to using it as a clutch bag, but at the very least, it’s a book safe, right?
Go forth and craft.

How do people come up with such clever ideas? I just saw a story (I think it was on Sunday Morning) about a woman who has collected hundreds of books that aren't really books. You've just created another one.
That is a really neat thing to collect! This is actually my 3rd not-a-book, but it's the first one I've made myself.
I had that same tutorial pinned from years ago and am finally going to do it, but the link was dead and I'm so happy to find your tutorial! I was planning on doing magnets for closure also. I'm a bit confused when you say that you cut out pages in the beginning? Is this an absolutely necessary step? I feel like it would make the book not close properly.
No, it's not necessary at all. The first few pages of this book were blank, so I got rid of them to make the finished product more attractive. I wanted the cuter title page to be the page that was cut into a X and folded down into the center. I think I cut out maybe 4-5 pages total, so the book still closes just fine.